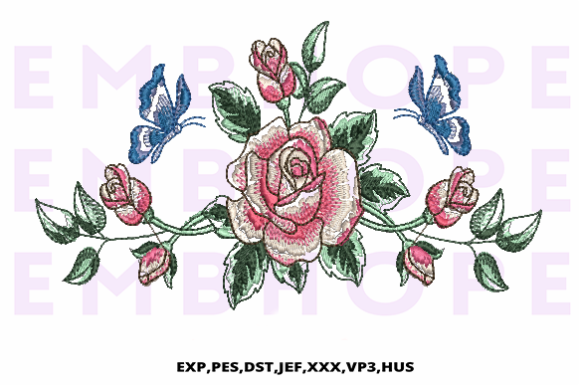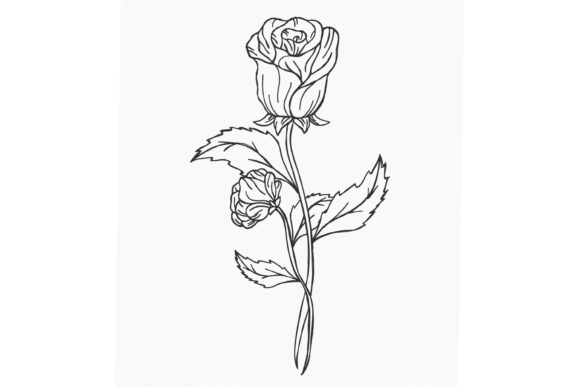
A Red Rose: A Continuous Line Embroidery for Craft Fairs
First Impressions: The Power of a Continuous Line
Opening the embroidery file, A Red Rose immediately feels intentional and graceful. The continuous line style gives it a modern yet timeless quality—there’s no clutter, just a single flowing thread path that creates the flower’s silhouette. For a craft fair table, this kind of design is gold. It reads quickly from a distance, which is exactly what you need when shoppers are browsing dozens of booths. The simplicity feels elegant without being stuffy, and the red rose motif carries universal appeal: romance, nature, vintage charm, and a touch of handmade warmth. It’s not overly cutesy, not abstract, but clean and decorative. As a designer, I’d slot this straight into the Outline Flowers category and use it as a workhorse for multiple product lines.
Where A Red Rose Shines in a Craft Fair Booth
A craft fair is a sensory overload. You have seconds to grab attention. A Red Rose works because it’s instantly recognizable. The continuous line technique creates a delicate, airy feel that stands out on solid fabrics. It’s perfect for layering with other light designs or for standing alone as a bold focal point. I’d build a whole booth section around this single embroidery design—maybe a “Rose Collection” with coordinated color palettes. The versatility mentioned in the product description (“you can use it for weddings, in the kitchen, on clothes – everywhere”) is spot on, but I’d test that claim carefully on different fabrics before committing to bulk production.
Tote Bags and Market Bags
On a natural canvas tote, A Red Rose becomes a subtle statement. The continuous line thread looks like a hand-drawn sketch, which appeals to shoppers looking for artisanal, eco-friendly gifts. I’d stitch it in a single rich red thread, maybe a variegated one for a watercolor effect, and place it off-center near the bottom. For a craft fair, totes are a bestseller because they’re affordable impulse buys. This design scales well to fit a 5x7 hoop, making it a quick, repeatable tote bag design that photographs beautifully for Etsy later.
Kitchen Linens and Aprons
Tea towels and aprons are my go-to for machine embroidery designs like this. The crisp outline of the rose looks stunning on a flour sack towel, especially when paired with a simple script or a tiny heart. For an apron, I’d position the embroidered rose on the bib or the pocket—just enough to make the piece feel special without overwhelming the functional item. The description says “in the kitchen,” and I completely agree: a set of rose-embroidered towels tied with a ribbon could be a top-selling gift set.
Wearables and Accessories
On clothing, the continuous line rose adds a bespoke touch. It works on the collar of a denim shirt, a cap, or a small pouch. I’d test it on a curved cap surface—the simple continuous line should handle the distortion better than a filled design, but I’d still use a cap-specific hoop and a light stabilizer. For fabric pouches and small zipper bags, the rose can be scaled down to a tiny accent, though I’d avoid extremely small sizes to preserve the loop details. The design’s elegance also makes it a natural for a fabric patch; imagine a frayed-edge embroidered patch that customers can iron onto their own jackets. That’s a high-margin, low-effort craft fair product.
Practical Production Notes for Batch Making
When you’re preparing for a weekend booth, speed and consistency matter. A Red Rose dances quickly because there’s no underlay to slow down the machine. The stitch count is likely modest, so you can stitch multiple units in a day. I’d run a sample hoop that holds four tea towels at once and see how the machine handles the continuous path. Thread changes are minimal—one color, maybe two if you add a stem. This simplicity is a major advantage for a small shop product where you’re juggling inventory. The design also works as a digital embroidery file for makers who sell finished goods, not just printed patterns.
Careful-Use Considerations: When to Scale and When to Skip
Every design has its limits. With A Red Rose, the most critical factor is stitch density and tiny details. The continuous line might have tight curves in the petals that could pucker on thin fabrics or become a tangled mess on textured towels. I’d avoid stitching this on a thick, nubby fabric unless I use a heavy wash-away topping. The design’s beauty is in its clean lines, so any distortion ruins the effect. On dark fabric, the red thread might pop, but I’d also test a white or metallic version for contrast. For small sizes—under 3 inches—the rose might lose its definition; I’d keep the hoop size at least 4x4 and confirm the file’s recommended dimensions before production. The description says it comes with multiple embroidery file formats, but I’d double-check that my machine’s format is included and that the design scales properly without breaking the continuous path.
Visual Appeal and Buyer Engagement
At a craft fair, the visual hook is everything. A Red Rose has a soft, romantic, and slightly rustic farmhouse feel. It’s not loud, but it’s memorable. I’d display it on a linen pillow cover in a distressed wooden hoop, with a few sprigs of dried lavender nearby. The continuous line style invites touch—people want to trace the thread path with their fingers. That tactile engagement is a selling moment. For online, the design photographs exceptionally well on a flat lay with a cup of coffee or a vintage book, making it a strong printable mockup for Etsy sellers. The minimalism also means it works with almost any brand aesthetic, from boho to classic to modern farmhouse.
Embroidery Designer’s Checklist Before You Stitch
Before I ever thread a needle, I run through a mental checklist. For A Red Rose, here’s what I’d do:
- Test the design on scrap fabric first—preferably the same fabric you’ll use for final products. Check for thread breaks and looping.
- Review thread contrast. A single red is strong, but consider a darker outline for definition on pale backgrounds.
- Inspect the spacing between continuous lines. If the lines are too close, they can merge on plush fabric; too far, and the rose loses its shape.
- Confirm the hoop size. The product description mentions multiple file formats, but not a specific hoop size—measure the design in your software to ensure it fits your desired product.
- Use the right stabilizer. For woven fabrics, a medium-weight cutaway works best. For knits or towels, a no-show mesh or a tear-away with a wash-away topping can prevent distortion.
- Create at least one real mockup with the exact thread and fabric you’ll sell. Photograph it in natural light for your booth display and online listings.
- Compare fabric colors. The rose might look best on off-white, light gray, denim, or even blush pink. Test a few swatches side by side.
- Confirm commercial licensing. The description doesn’t state whether the design is cleared for selling finished products on Etsy or at craft fairs. Always check with the designer before selling items made with the embroidery file.
Final Thoughts: Is A Red Rose Booth-Ready?
Absolutely. A Red Rose is the kind of embroidery design that bridges the gap between trendy and timeless. It’s not overly complicated, so it’s easy to produce in batches, yet it carries enough charm to justify a premium price tag. Whether you’re stitching it onto a tote bag, an apron, a pillow cover, or a custom patch, the continuous line style guarantees a consistent, high-quality look that feels handcrafted and intentional. Just remember to test, scale thoughtfully, and pair it with materials that honor its delicate lines. For a craft fair, this design can be the quiet bestseller that keeps customers coming back for more.